| 1. Create a Sphere or any other primitive. Activate the mapping coordinates. | 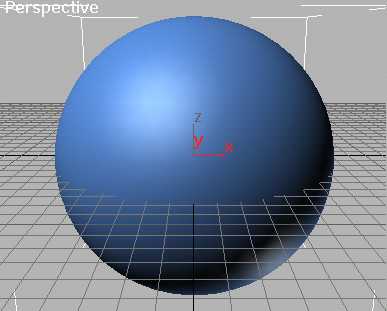
|
| 2. Go to the material editor. Select a slot, then choose a new material, from type Blend. | 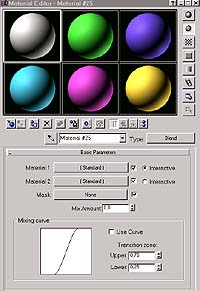
|
| 3. In Material 1 create a normal surface of the object. Name this material Standard Surface. | 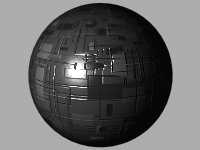
|
| 4. Now go in Material 2. Click on the button type, in the middle left. Then you can choose a new material, choose Blend again. Name this material Glowing Parts. | |
| 5. Now drag and drop the Standard Surface on Material 1 of the second Blend, and create an instance. | |
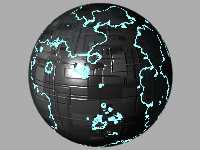
| 6. In the Material 2 create a material that look similar to the one on the picture. Change the material effect channel to 1. | 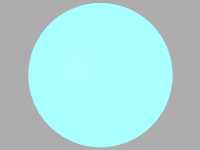
|
| 7. Now it's time to create the mask for the second Blend. Click on the
mask map and choose Celluar. Change the value to that: Tilling: all 0.4; Cell Color: Black; Division Color 1: White; Division Color 2: Black; Size: 20; Spread: 0.6; Bump Smoothing: 1; Fractal: On; Iterations: 7; Roughness: 0; Threshold: Low: 0.46, Middle: 0.5, high: 0.54; Output amount: 3. |
|
| 8. For the mask, you have to create an avi, with this files(n/a). If you have Premiere, put Disvole transitions between the pictures. | 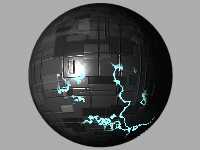
|
| 9. Now go in the track view. Search the controller for coordinates of the celluar mask. Select it. Assign a noise controller instead of the bezier one. Right click and open the properties. Change frequency to 0.15, and all strength to 25. | |
| 10. Go to the video post menu. Add a scene event and Lens Effect - Glow filter. Edit the glow filter. You can download the glow file here (n/a). | 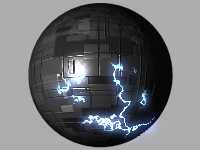
|
| 11. You want your starship have this effect, simply replace the standard surface with the materials, and reassign the diasbling material to the objects, where the old material was assigned to. |