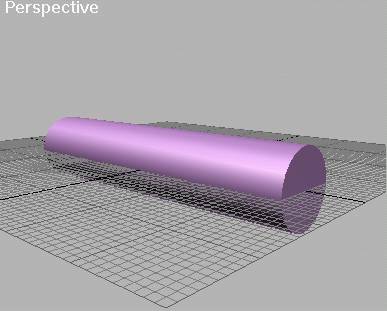
| 1. Create a cylinder (R= 52, H= 475, Heighsegment: 15, Capsegment: 7).
You could also do it with another primitive or any other object. |
|
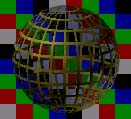
| 2. Now create the material for the cylinder. Choose a Blend material,
name it "Hull". In Material 1, create a Material you named "Standard Surface".
It's not important how this material looks like. Then copy the Standard Surface
material to the second material of the Blend. Go to this material and name
it "Wiremapped". Open the maps rollout. Then assign an opacity, choose the
map type "Wiremapper". Make the wire size 0.2 and turn the Barycentric to
"Just X". Then create an instance of this map in the bump map and turn the
bump amount to 100. Go the Extend Parameters of the Wiremapped material and
put the Opacity type to Subtractiv. The material should be 2-"Sided". |
|
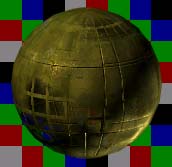
3. If look at the material you see nothing from the wiremapped material.
You have to assign a mask. Click on the mask map of the Blend material ("Hull"),
and choose cellular map.
Now make the current settings:
| Cell Color: White |
Divison Color 1: Grey |
Division Clor 2: Black |
| Cell Shape: Circular |
Size: 100 |
Fractal: On |
| Iteration: 3 |
Spread: (Will be animated) |
Adaptive: ON |
| Bump Smoothing: 0.1 |
Roughness: 0 |
|
| Low: 0.25 |
Middle: 0.5 |
High: 0.75 |
|
|
4. Now assign the material to the cylinder. Go to the trackview, we will
animate the material.
Search the opacity map track, open it, and look for the wire size. Create
a key frame at 60 and another at 100. Make the wiresize at 100 0.
Now go to the mask track, look for the track for the spread of cellular map.
Create a key frame at 0, size 0.001; keyframe at 65, size 0,5; keyframe at
99, size 0,99. Change the bezier in Keyframe 1, so to start slowly. |
|
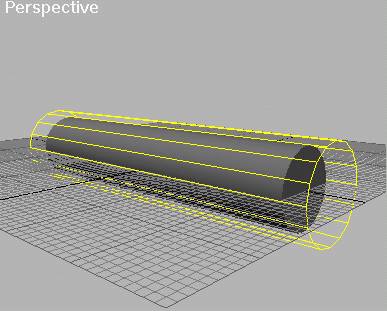
5. Create a cylindric atmospheric gizmo round the cylinder (R= 59, H=
545). Go to the emvironement menu and add a combustion. Pick the cylindric
gizmo. Now change the settings:
| Inner color: R: 255, G: 246, B: 0 |
Outer color: R: 255, G: 104, B: 30 |
Smoke: isn't needed |
| Flame type: Tendril |
Stretch: 2 |
Regularity: 0.62 |
| Flame size: 10 |
Density: 100 |
Detail: 3 |
| Samples: 15 |
Explosion: ON |
Smoke: OFF |
| Start: 0 |
End: 87 |
Fury: 1 |
|
|
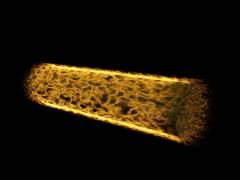
| 6. Render it. It should like the picture. |
|
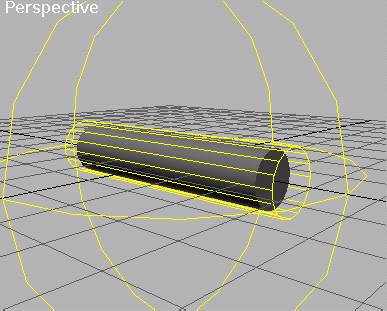
7. Create a spherical gizmo round the cylinder (R=350). Change the Seed.
Go the enviroment menu and add another combustion. Pick the spherical gizmo,
and change the settings:
| Inner color: R: 255, G: 202, B: 0 |
Outer color: R: 255, G: 30, B: 30 |
Smoke: isn't needed |
| Flame type: Fireball |
Stretch: 1 |
Regularity: 0.2 |
| Flame size: 100 |
Density: 15 |
Detail: 3 |
| Samples: 15 |
Explosion: ON |
Smoke: OFF |
| Start: 57 |
End: 117 |
Fury: 1 |
|
|
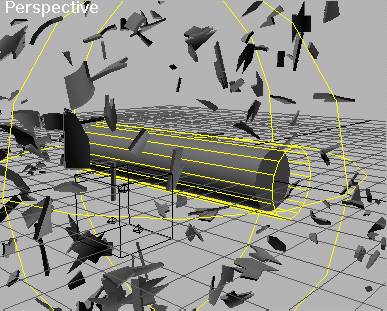
8. Now we come to the debris. Create a PArray particle system. Pick the
cylinder, change viewoport display to mesh.
Settings:
Particle Generations:
| Speed: 50 |
Speed Variation: 50 |
Divergence: 25 |
| Emit Start: 60 |
Display until: 100 |
Life: 100 |
| Life Variation: 20 |
|
|
Particle type:
| Type: Object Fragement |
Thinkness: 5 |
Minimun of Chunks: 250 |
| Get material from: Picked Emitter |
|
|
Particle Rotation:
Spin time: 10 Variation: 100
Go to frame 65 and watch.
|
|
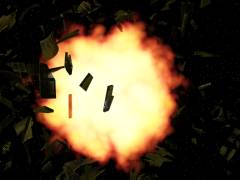
9. As you see, the cylinder doesn't disappear. Go to the trackview. Find
the cylinder track and add a visibility track. Create a keyframe at 60.
Render it. |
|
| 10. If you have Real Lens Flare, you can put a lens flare in the middle
of the cylinder, and animate it so, that it's the biggest short before the
main explosion. |
|